Flat Iron® Portable 17-inch Gas Griddle
 Flat Iron® Premium Gas Griddle
 Flat Iron® Gas Griddle with Lid


 Garlic & Herb Crown of Lamb
 Accessory Spotlight


While we love using the Beer Can Chicken Rack for making roasted chicken on the grill, there is nothing quite like a rotisserie chicken. Smokey from the coals, juicy and tender meat, skin that is crisp and delicious.
Is your mouth watering yet?
There have been a few Char-Griller ambassadors (*cough* Certified Creole BBQ *cough*) who have made GREAT use of the Rotisserie. Using it for everything from chicken to Cowboy Steaks. Whenever we post his rotisserie content, we always get people asking us about the rotisserie. Will it fit on my grill? Does it have a battery compartment? Do you have to plug it in? On and on.
We decided to answer those questions once and for all with a whole blog post on how to use the Char-Griller Rotisserie Accessory.
1. Make sure your Rotisserie Spit is the right size.
There are three different lengths for the Rotisserie Spit. The Rotisserie Kit comes with the 36” spit rod as well as the motor, mount brackets, supports, meat forks and the spit collar accessories. The 36” rod does not fit all Char-Griller grills.
There are also three additional spit rod sizes: 29”, 43” and 53”. Check the list here to see which size you need.
2. Attach the Universal Spit Rod Support Brackets
Before you jump into cooking with your Rotisserie Spit, make sure that you attach the Support Brackets to hold the motor and the Rotisserie Spit. All you need is a flat head screw driver.
3. Remove the Warming Rack
If your Char-Griller has a warming rack, you will need to remove it for proper operation of the Rotisserie.
4. Secure the Meat on the Meat Forks
Make sure that you properly secure the meat you want to rotisserie on the meat forks. Then you will need to slide the meat forks on the rotisserie spit rod and secure the forks with a small flat head screwdriver. This ensures the meat doesn’t move around on the spit rod when it’s cooking.
5. Choose Your Power Source
The Rotisserie Motor operates with either the included power adapter or two D batteries. Make sure that you either have batteries or access to an outlet.
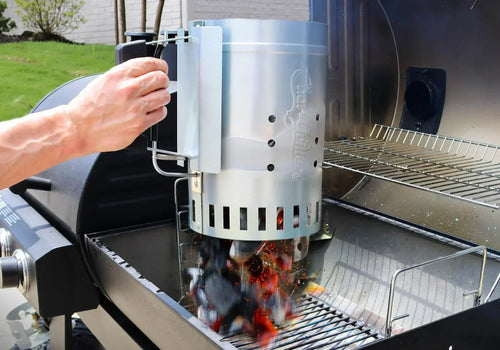
6. Load Charcoal into The Grill
Place the charcoal to the front or back of the grill. This allows the meat to cook evenly without getting burned or having flareups.
7. Use a Drip Pan
Put aluminum foil or a drip pan under what you are cooking to reduce flareups and prevent too much grease from getting in your ash pan.
8. Put the Rotisserie on the Grill
Place the Rotisserie into the brackets. The end with the point goes into the motor and the end with the screw gets the Spit Collar, Handle, Weight and Hardware. Once you get the Rotisserie on the grill, start up the motor.
9. Prop the Grill Open
If you have the tools, you can knockout the steel pieces on either side of the barrel. This will allow you to fully close the grill. You can also prop open the grill using the grate lifter.
10. Be Patient and Use a Meat Thermometer
Try not to open your grill too much to look at the meat. You want to keep as much heat in as possible. Check the meat and charcoal levels every hour or so until the meat gets to temperature.
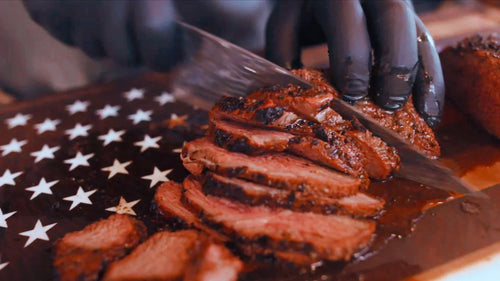
After your meat is done, remove from the Rotisserie and enjoy! Don’t forget to let the rod and meat forks cool down before moving.
What’s your favorite way to use the Rotisserie?