Flat Iron® Portable 17-inch Gas Griddle
 Flat Iron® Premium Gas Griddle
 Flat Iron® Gas Griddle with Lid


 Reverse Seared Ribeye
 Accessory Spotlight
 Smokey Texan Raspberry Chipotle Stuffed Burger

Fall brings football, cooler weather, and some of our favorite holidays, but it also signals the end of the grilling season for some.
Your grill has worked hard this season and it's time for a tune up to get it ready for winter. This blog will cover everything you need to do to get your grill ready to store for the winter and stay in tip top shape so it's ready to go in the spring.
365-Day Grillers stay with us. These tips apply to you too. Think if it as your semi-annual grill tune up to keep the pit going all through the winter.
Clean Out the Ash
You should be dumping out the ashes after every cook, but if you have skipped this step, now is a great time to make sure your ash pan has been thoroughly cleaned. Char-Griller's Easy Dump™ Ash Pan makes this easy. Simple remove the grates, grab the handles and dump the ashes into a aluminum pan for disposal.
Have an AKORN®? Unclip the ash pan from the bottom of the grill and slide out. Dump the ashes into an aluminum pan for disposal. Make sure to remove the grates and clean out any excess charcoal and ash from the fire bowl.
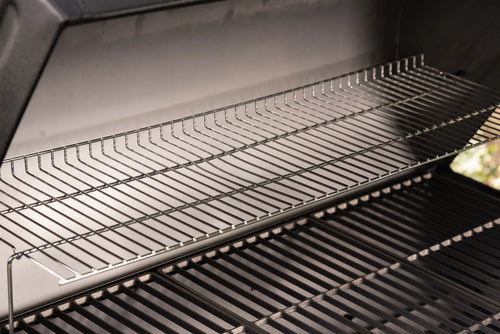
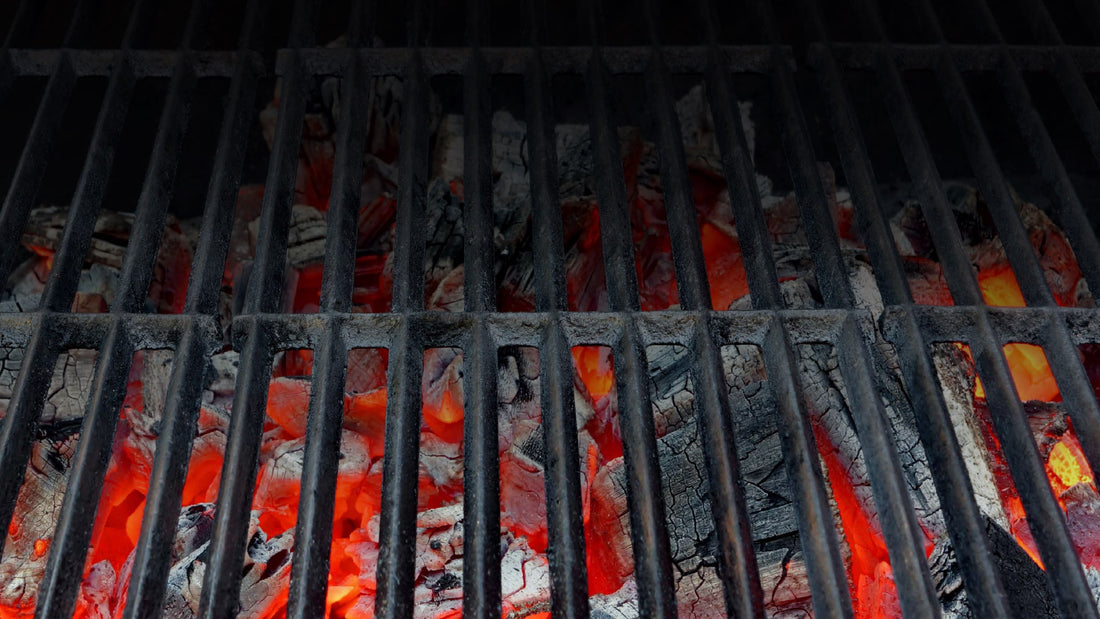
Scrape, Clean, and Season the Grates
After a long summer of grilling, your grill grates are likely in need of some TLC. Make sure to give your grates a good scrape to remove any food debris. We recommend using the Char-Griller Wooden Grate Scrape for this.
After you have ensured that the grates are clean on both sides, it's time to season them. Light the gas burners or use about a half chimney full of charcoal and allow the grates to heat up. After the grates are hot, use a paper towel dipped in vegetable oil and coat both sides of the grates thoroughly. Close the lid and allow the grill to cool down naturally.
Repeat if needed.
Clean the Flame Shields
If you have a Char-Griller Gas Grill or a Dual Fuel Grill, it is important to clean off any grease or food reside from the flame shields. The shields are easily removable. Make sure to dry completely before placing back on the grill.
Clean the Grill and Remove Grease
It is good practice to give your entire grill a thorough cleaning at least once a year (twice is best practice but once will do). Remove the grates and the ash pan and use warm water to clean out the ash pan and clean out the bottom of the grill. Because ash is highly corrosive and excess grease can cause flare ups, it is important to remove this to make your grill last as long as possible.
After washing, you MUST allow the grill to fully dry. Do NOT place put the grill back together with wet parts as this can cause rust. After washing, you MUST re-season the grill.
Order Any Needed Parts
If during the cleaning process you found any parts that need to be replaced, you can easily find them at www.CharGriller.com. It's best to replace parts sooner rather than later so your grill will be ready to go if you want to use it during the holidays or the second the weather gets nicer in the spring.
Seasoning The Grill
After the grill is fully clean and dry, it is time to re-season. Seasoning the grill is an important step that increases the life of your grill. It takes about an hour and half to two hours total time to season a grill, but your patience and diligence will be rewarded.
Instead of a step by step explanation of the process, this video from the Dad Life Channel is a great tutorial.
Get A Cover
Even if your grill stays in a garage or under a roof during the winter months, you need a grill cover. They help prevent rain, snow, dust and more from getting to the grill as well as helping the grill last longer.
Every Char-Griller Grill has a custom cover designed to fit its unique features. You can find all our covers here. Should you need assistance finding your grill cover, Char-Griller customer service will be happy to help you. Contact us using the chat box in the lower right corner.
Store Carefully
If you are going to put your grill away for winter hibernation, it's best to store it in a shed, garage or under some cover. The less the elements can get to it, the better.
If you followed the above steps carefully, your grill should be good to go and ready to grill come springtime.