Flat Iron® Portable 17-inch Gas Griddle
 Flat Iron® Premium Gas Griddle
 Flat Iron® Gas Griddle with Lid


 Cheddar Cheese Stuffed Burgers
 Accessory Spotlight
 Reverse Seared Ribeye


This video and blog post covers one of the most important, and often overlooked, aspects over grilling: clean-up. Beyond the basic benefits of maintaining hygiene and food safety, keeping your grill clean is one of the most important steps to achieve consistent results in your cook. Whether you're a seasoned grill master or just embarking on your grilling adventures, understanding why regular grill cleaning matters is the key to elevating your backyard BBQ recipes and ensuring your grill remains in optimal performance.


Why Grill Cleaning is Important
Cleaning your grill after use is important for a variety of reasons, including food safety, grill longevity, and better performance during cooking. Cleaning after every use is best because it makes the cleanup faster each time versus allowing residue to build up over time. It also looks better! Show off your grill every time by keeping it in tip-top shape.
Steps to Cleaning Your Grill
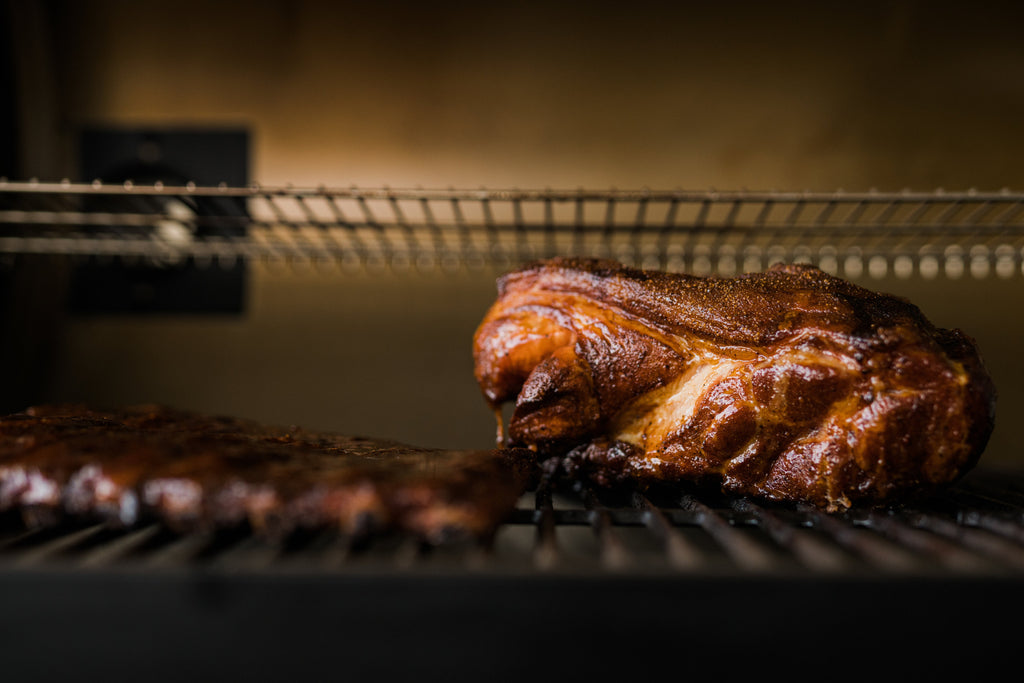
- Close the Dampers - When you are finished grilling, close the dampers on your grill to suffocate the fire. Always clean your grates with a grill brush. It'll be easier to do while the grill and grates are still slightly warm.
- Brush & Scrape - We recommend the grill brush with a scraper to clean your grill. This brush has a scraper to remove stuck-on grime, a heavy-duty scouring pad for easy scrubbing, and powerful, sturdy bristles for any and all deep cleaning.
- Apply Oil - After you've finished cleaning your grates, lightly coat them with your preferred oil. This protected the seasoning on your grates and makes sure they are ready to go for the next cook.
- Wait for Cool Coals - You'll need to wait until the coals and ash have completely cooled before you can remove then. Once the fire is extinguished and the grill is cool to the touch, you're ready to remove the ash.
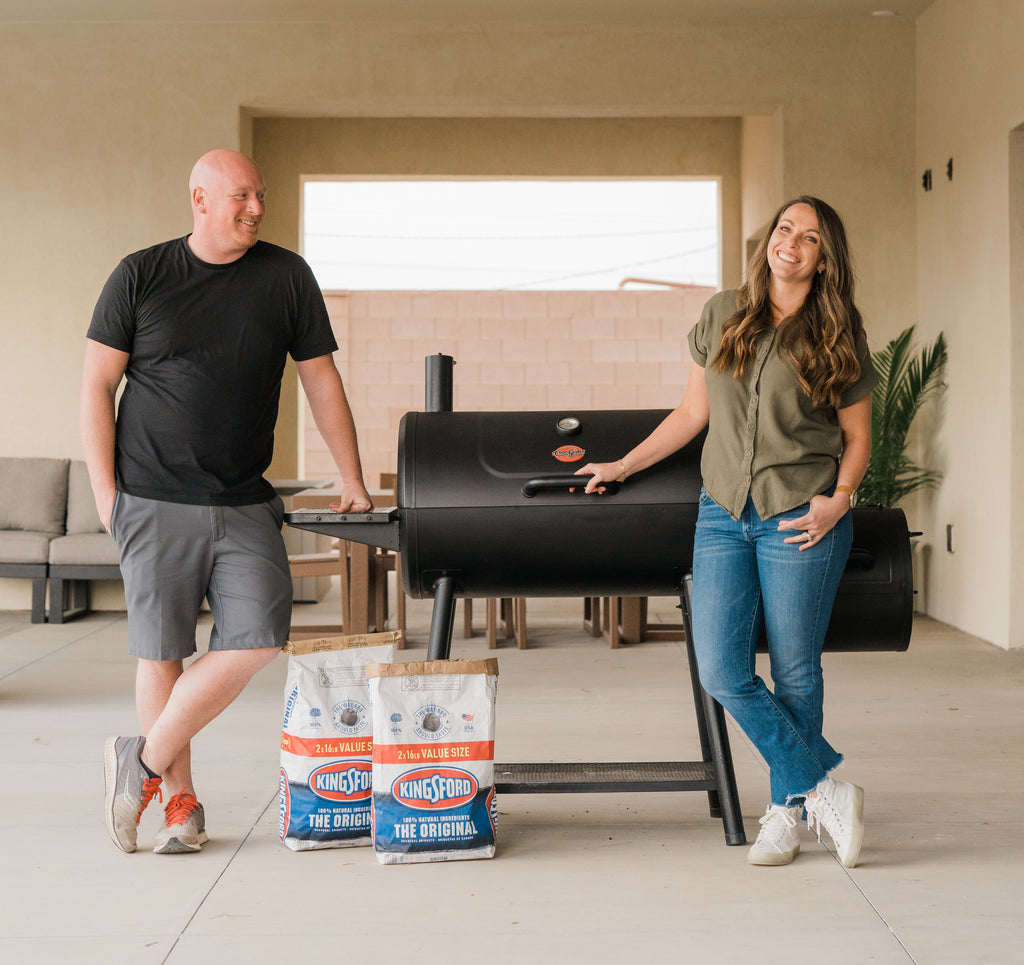
- Remove Ash - Remove the grates from the grill with a grate lifter and set aside. The Smokin' Champ offset smoker makes clean-up easy with the Easy Dump Ash Pan. Remove the ash pan from the grill. Give it a few firm taps to loosen any ash that may be stuck. Dump the ash into a metal container. You can then cover the ash with water to ensure there are no lit coals, and then you can dispose of the ashes.
- Cover Your Grill - After you've cleaned your grill and supposed of the ash, it is time to store your grill. Covering your grill with a grill cover with a cover helps to protect it from the elements, extending the life of your product. Now that your grill is clean and protected, it will be ready to go for your next cook!
By making grill cleaning a routine part of your post-cooking process, you'll not only enhance the safety and flavor of your food but also extend the life and performance of your grill.